Let’s be honest—siding isn’t something most homeowners daydream about. But when your old siding starts warping, cracking, or making your house look like the “before” photo in a home makeover show, it’s time to do something about it.
That’s where James Hardie siding comes in. It’s durable, gorgeous, and doesn’t throw a tantrum every time the weather changes. But what does the installation process actually involve? And how disruptive is it?
Let’s walk through the process—step by step—so you know exactly what to expect when you upgrade your home’s exterior with James Hardie siding.
Understanding the Value of James Hardie Siding
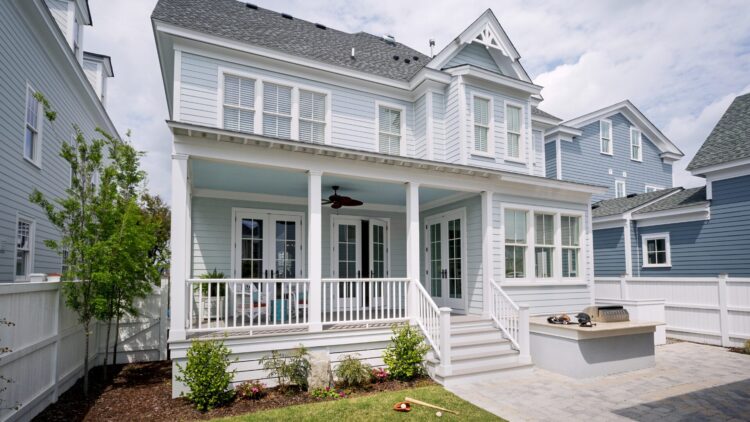
James Hardie fiber cement siding is known for its durability and timeless style. It resists fire, moisture, pests, and color fading—even after years of harsh weather.
It also offers the kind of design versatility that makes a noticeable difference in curb appeal. From classic to modern, it’s a great fit for a variety of home styles—and it’s low-maintenance and HOA-compliant, too.
Why Professional Siding Installation Matters
Installing fiber cement siding is very different than installing other exterior options, like Vinyl or aluminum. It’s heavy, dense, and has to be installed with very specific techniques to live up to its full potential. Do it wrong, and you risk voiding the warranty—or worse, inviting water damage that could cost you big time.
That’s why it’s so important to work with professionals who not only know what they’re doing, but have the credentials to back it up. At Presidential Exteriors, we’re proud to be a James Hardie Elite Preferred Contractor, a designation that reflects our specialized training, attention to detail, and commitment to getting the job done right the first time.
Our Step-by-Step Process to James Hardie Siding Installation
At Presidential Exteriors, we like to keep things simple, streamlined, and stress-free. Here’s a look into our siding installation process:
1. Prep
We start by removing the old siding and prepping the surface. That includes checking the sheathing for damage and applying house wrap for extra protection.
2. Measure Twice, Cut Once
Precision matters. We take detailed measurements and pre-cut the panels using our specialty blades designed to cut James Hardie Siding.
3. Flashing Installation
Flashing is installed at key points—such as around windows, doors, and rooflines—to keep your home sealed tightly against moisture. Because every home is unique, each piece of flashing must be custom-made using a metal brake.
4. Trim Things Out
Before the siding goes up, we install trim to bridge the gap between the siding and the wall.
5. Siding Goes Up
Siding panels are installed with proper spacing and staggered joints for a polished appearance. Once the siding is installed up to the trim, we finish the job with high-quality caulk to seal any gaps, ensuring everything is watertight and polished.
6. Clean Up & Final Check
No one wants to be left with a construction zone. We clean up like we were never there and walk through everything with you to make sure you’re 100% happy before we call it a day.
A Process You Can Rely On with Professional Installation
We know home projects can be stressful, but siding installation shouldn’t be. We’re here to make the process easy, transparent, and enjoyable.
From your first call to the final walkthrough, our team keeps you in the loop. We answer questions, explain what’s happening, and show up when we say we will. And with our lifetime workmanship warranty, you can rest easy knowing your home is protected for the long haul.
So, if your home’s ready for a serious glow-up, James Hardie siding installed by Presidential Exteriors is the way to go.
Want to see how it would look on your home? Let’s talk siding.